
Five Common Night-Grading Mistakes
Avoid crushed shadows, clipped lights, uncontrolled mixed color, excessive saturation, and grades that erase night atmosphere.
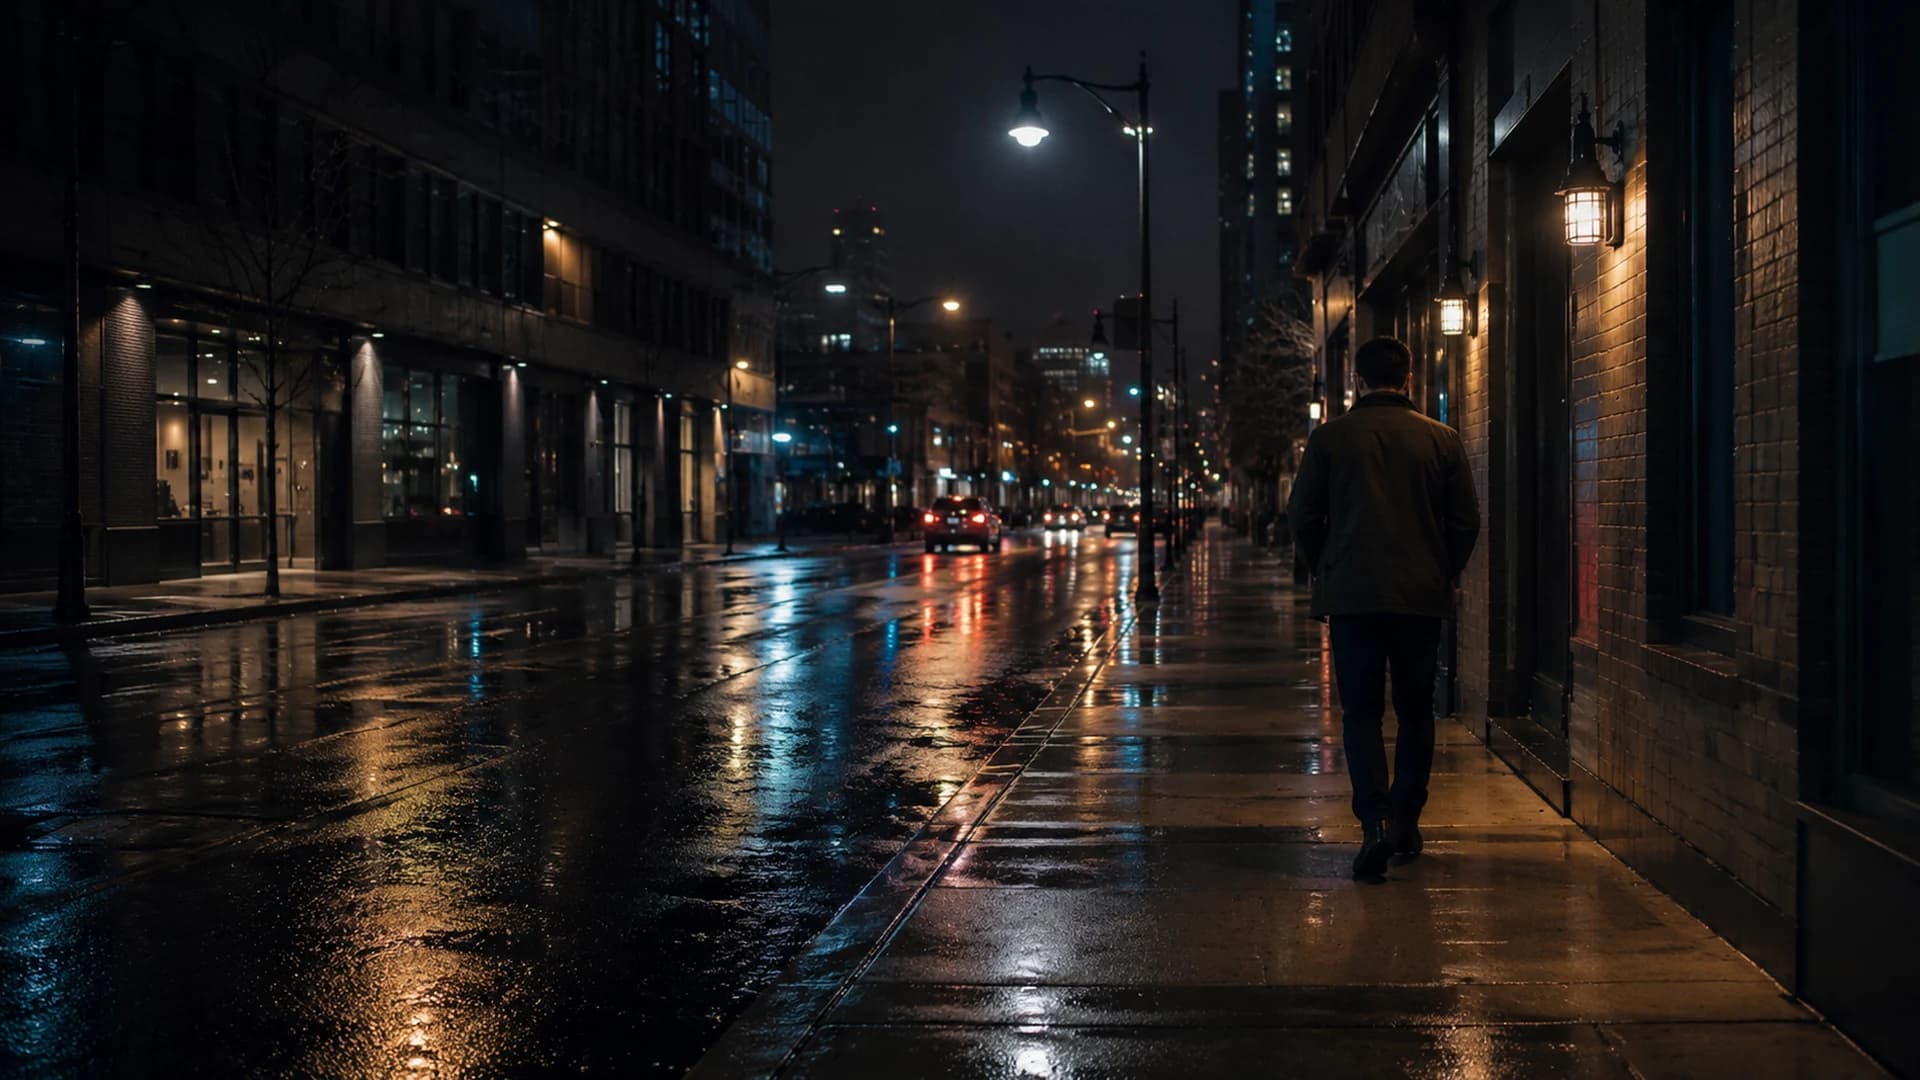
Night photographs are built from imbalance: bright signs against dark streets, warm windows beside cool sky, faces passing through pools of light, and large areas with little detail. A successful grade does not make every region equal. It preserves night while organizing contrast and color so the viewer understands what matters.
1. Crushing every shadow
Deep blacks can add focus, but pushing Contrast up and Shadows down can merge hair, clothing, pavement, and architecture into one shape. Use Luma to notice a heavy left-edge concentration, then inspect the dark regions. Keep intentional black areas while preserving separation where texture or subject boundaries carry the photograph.
2. Letting practical lights clip broadly
A lamp filament or tiny reflection can be white. A large sign, face, or illuminated wall losing all variation is more disruptive. Set overall Exposure for the subject, then use Highlights to control bright areas where information exists. The histogram can show a right-edge pile-up, but only the canvas tells you whether it is a point light or an important surface.
3. Neutralizing all mixed light
Street scenes combine warm lamps, cool LEDs, shop windows, vehicle lights, and blue ambient light. Temperature and Tint are global, so forcing one source to neutral can push another too far. Decide which light should dominate and allow difference to remain. Mixed color often provides the depth and location cues that make a night scene convincing.
4. Oversaturating signs and shadows
Night color can already be intense. Raising Saturation globally may turn signs into flat blocks and exaggerate colored noise or unnatural skin. Vibrance can be gentler for less-saturated areas, but still needs judgment. Watch RGB for channels driven toward the edge, and compare faces, signs, and dark neutral surfaces after each significant move.
5. Making night look like day
Lifting Exposure and Shadows until every corner is visible removes hierarchy and can reveal noise darkness had concealed. Night needs dark areas. Identify one or two readable anchors: a person, doorway, reflection, or line of lights. Improve those relationships while allowing surrounding space to stay quiet.
- Choose a Look that supports the existing light.
- Set Exposure around the subject while preserving darkness.
- Inspect Luma edges and RGB channels, then locate those pixels.
- Shape Highlights and Shadows with small moves.
- Adjust Temperature, Tint, Saturation, and Vibrance while protecting skin and lights.
- Use Compare to ensure the grade keeps the place and time of day.
For a series, test the darkest, brightest, and most color-mixed frames before settling on a direction. A grade designed on the easiest image may fail elsewhere. Batch can repeat a selected Look across queued images, but review every result because different captures can require individual exposure or color decisions.
Finally inspect exported files on the display where they will normally be viewed. Compression, screen brightness, and surrounding light can change how deep shadows and bright signs feel. If the grade only works in a dark editing interface, refine the hierarchy rather than simply making everything brighter.
Noise deserves restraint too. CineLook's Film Grain is a creative texture, not a noise-removal control. Adding it to an already noisy high-ISO frame can make texture more obvious, while aggressive shadow lifting exposes more source noise. Judge the downloaded image at realistic size. If texture distracts from the subject, reduce the creative effect or keep the shadows quieter instead of expecting the Look to repair capture noise.
When in doubt, make a restrained version before a dramatic one. Comparing both usually reveals whether mood came from purposeful hierarchy or merely from lost detail and stronger color.
Good night grading decides what the viewer can see and what the darkness is allowed to keep.Grade a night image in Studio