
Your First Edit in CineLook
Follow a simple first workflow from image import and Look selection through measured adjustments, comparison, and export.
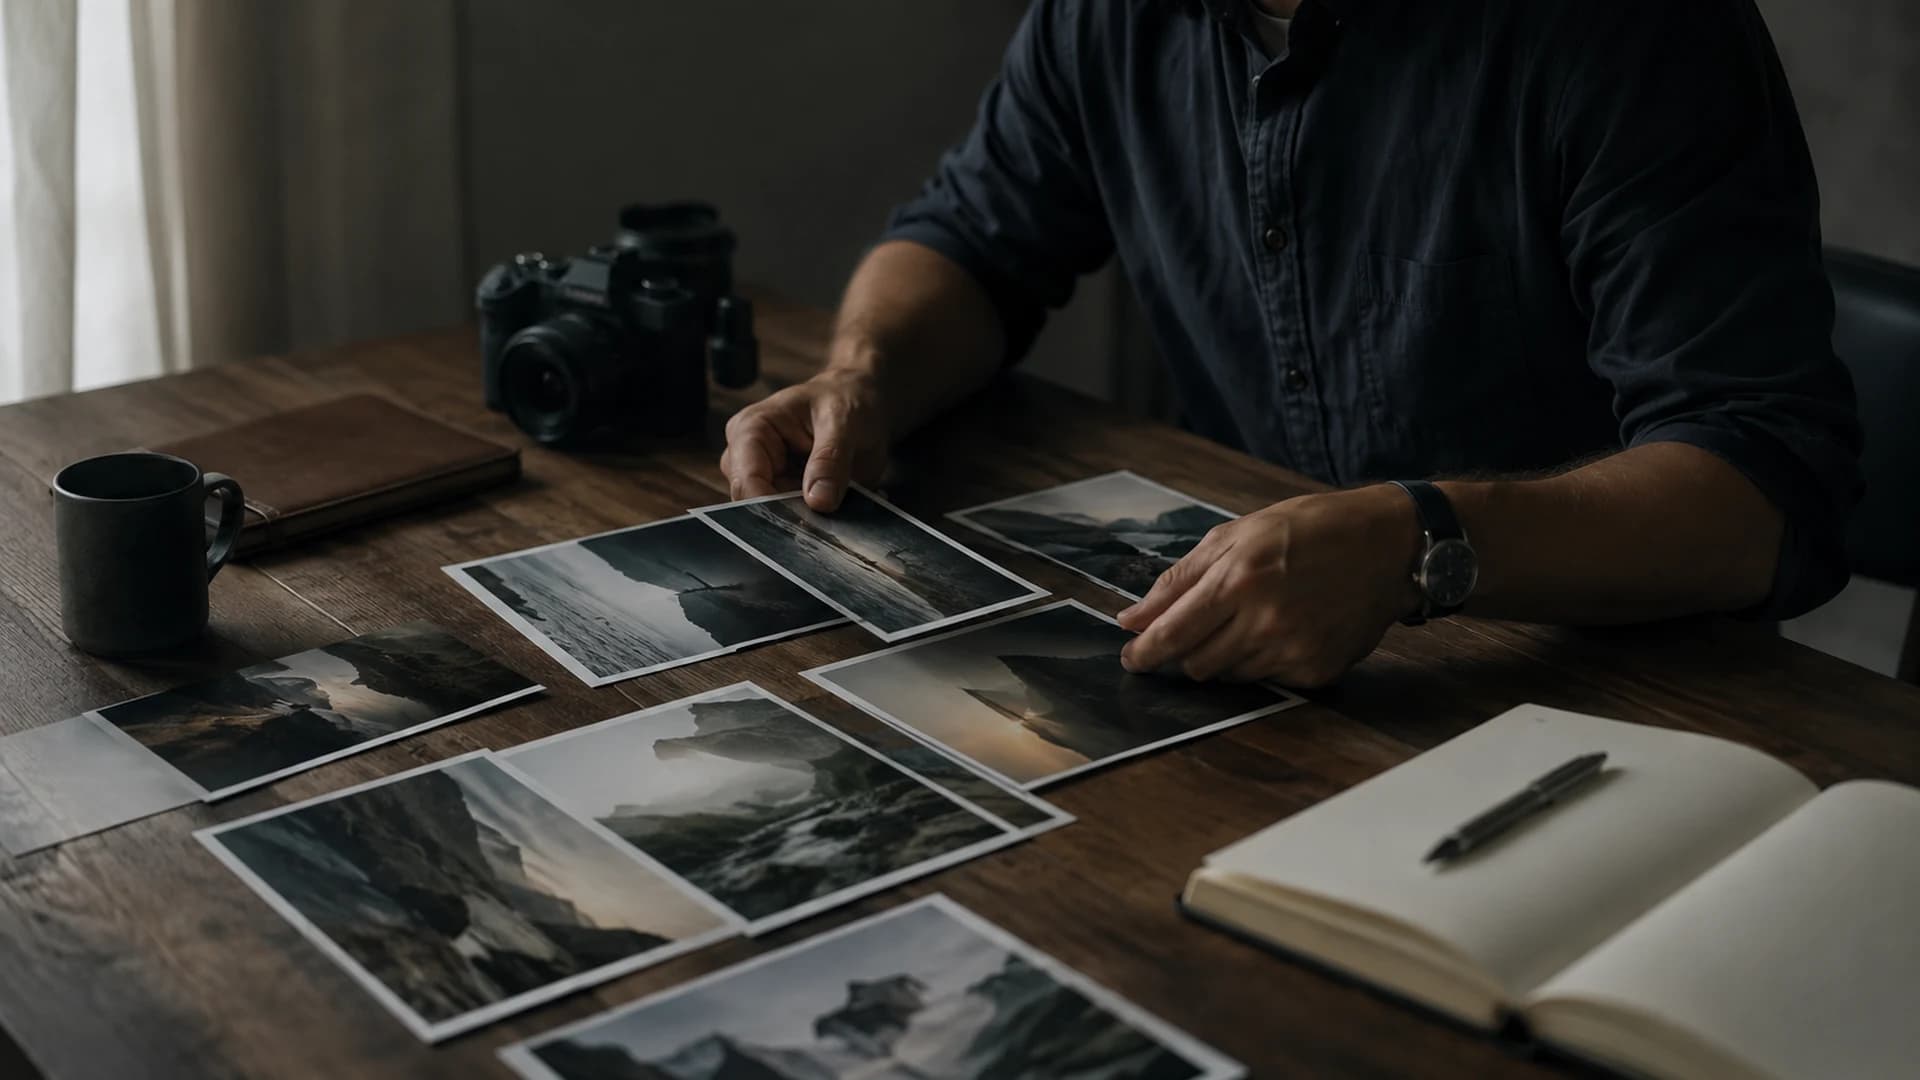
CineLook is built around a short, repeatable path: load an image, establish a direction with a Look, refine the result, compare it with the original, and export. Your first edit does not need every control. The goal is to make a few decisions you can explain and leave the image clearer, more coherent, or more expressive than when you began.
Begin with a useful source
Open Studio and use Upload Image to import a JPEG, PNG, or WebP file. TIFF files can also be imported on supported desktop layouts when TIFF support is enabled. Choose a frame whose subject and lighting you understand. A window-lit portrait, a street at dusk, or a travel scene with clear foreground and sky is easier to judge than an unfamiliar image. Once it appears on the canvas, inspect focus, the brightest important area, the deepest useful shadow, and any color that must remain believable.
- Upload one image and wait until it is visible on the canvas.
- Identify the subject and three details that must survive the grade.
- Open the Look Browser and preview two or three plausible directions.
- Choose the Look that supports the scene and intent, not simply the strongest effect.
Treat a Look as a direction
A Look changes tonal and color character. Some options are restrained; others use stronger contrast, cooler shadows, warmer highlights, or reduced saturation. Watch the subject rather than relying on the name. For a portrait, check skin and highlight detail. For a night street, check signs, lamps, dark clothing, and whether the scene still feels like night. A promising Look should give you a useful foundation without requiring extreme corrections.
Refine in a sensible order
Begin with Exposure and Contrast because they affect how you judge later color choices. Use Highlights and Shadows to shape bright and dark regions without assuming they can recover detail that was never captured. Then adjust Temperature and Tint if the overall balance feels too warm, cool, green, or magenta. Finish with Saturation or Vibrance. Small moves are easier to understand and repeat than large swings across several controls.
AI Color Analysis can summarize measured color and tonal characteristics and offer Look recommendations after an image is loaded. It is guidance, not an automatic final grade. You decide whether a recommendation fits the subject and story. The RGB and Luma histogram views provide additional evidence about channel and brightness distribution, but they do not know which person, cloud, sign, or shadow matters to you.
Compare and finish
Use Compare after the image is loaded to judge Original against Graded. Ask whether the subject reads more clearly, important highlights and shadows remain believable, and color supports the scene. A more noticeable grade is not automatically a better one. Look away briefly, compare again, and check the image at a useful size before export.
The Export panel supports PNG, JPEG, WebP, and TIFF images, with original, preset, or custom dimensions and quality controls where relevant. Confirm format, fit, resolution, quality, and filename. Export, then inspect the downloaded file rather than trusting only the canvas preview. Sign-in, membership, resolution, and usage requirements shown by Studio still apply; this lesson does not change those boundaries.
- Compare Original and Graded one final time.
- Check skin, skies, bright signs, and textured shadows at a larger view.
- Confirm the export settings and filename.
- Download the result and inspect the actual delivered file.
Keep the first session simple enough to repeat. If you can explain why you chose the Look, which tonal adjustment mattered most, and what changed between Original and Graded, the edit has taught you something useful. Save experimentation with every Creative control for later sessions. A dependable basic loop gives you a reference point for understanding what added grain, bloom, rolloff, or vignette contributes to another image.
Start your first edit in Studio